
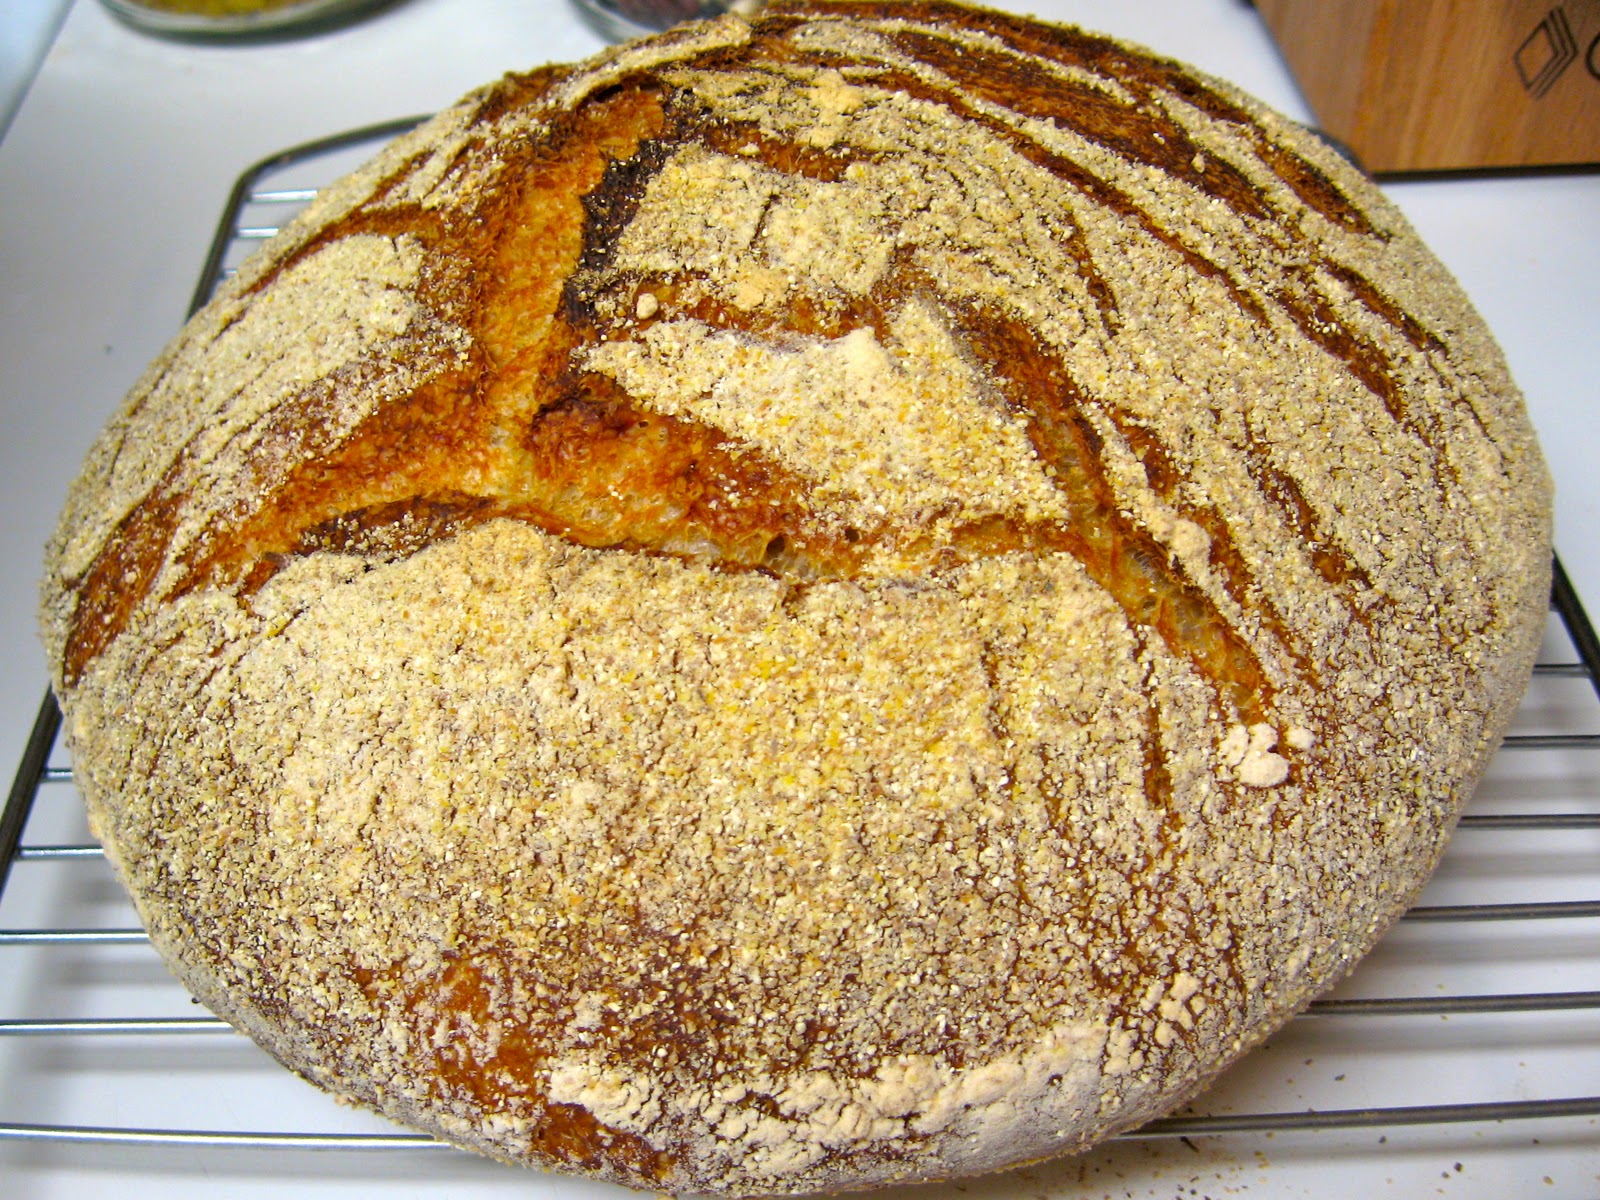
"Without bread, everyone's an orphan" is an Italian phrase any foodie should live by! Okay, that's if you aren't allergic to wheat...:-). I pooh pooh anyone who tries to say you should never eat bread though. What good is a bowl of hot steaming soup on a cold Autumn day without a nice hunk of crusty bread to sop up the juices with?! I wish I could take credit for this recipe, but I got it out of the Mother Earth News - Guide to Fresh Food All Year. An article by Roger Doiron shares his love of bread and a search for bread like he found in Europe. This loaf is easy to make although it does take time. It's well worth it though as it has that chewy crust and soft fine texture on the inside that you love in a good bread for soups and such. It makes a wonderful french toast as well, and the nice thing is that there's no fat or sugar and it uses very little yeast, as well as no requirement to knead the dough. I have to say that my bread came out just like the photo in the article and Kent loved this, so we will be having this again.
NO KNEAD, DUTCH OVEN BREAD
1/4 t. yeast
1 1/2 c. warm water
3 c. all purpose flour, wheat flour or a combination of. I used 2 cups white to one whole wheat
1/4 c. flaxseed meal
1 1/2 t. salt
In a large bowl dissolve yeast in the warm water. Add the salt and flour and blend well. The dough will be shaggy and sticky. If it's too dry add a tablespoon or two more warm water. Cover the bowl with plastic wrap if you have it and let the dough rest in a warm place for at least 8 but up to 12 to 18 hours. I started mine in the evening so I could finish it up the next day.
The dough is ready when the surface is dotted with bubbles. With a rubber spatula scrape the dough away from the sides of the bowl, and turn it in the bowl to make a ball. Take parchment paper, and tear off a square about 12"X12". Somewhat generously sprinkle with flour and place the dough on it. Sprinkle the dough with a little flour and fold the dough over on itself once or twice. Cover with inverted bowl and let it rest for about 15 minutes.
Using just enough flour to keep the dough from sticking to the paper or your fingers, gently shape it into a ball. Cover with the inverted bowl and let rise for about 1 to 2 hours. When it's ready, the dough will have doubled in size and will not readily spring back when poked with a finger.
About 30 minutes before the dough is ready, heat your oven to 475 degrees. Put a 6-8 quart heavy covered pot (cast iron, or enamel) in the oven as it heats. When the dough is ready, carefully remove the pot from the oven and lift off the lid. Grab two corners of the parchment paper with the dough on it and set it into the pot. Yes, you bake the bread on the parchment paper in the dutch oven. Cover and bake for 30 minutes, then remove the lid and bake another 15 to 20 minutes until the loaf is beautifully browned. Remove the bread from the Dutch oven and let it cool on a rack for at least 1 hour before slicing. Enjoy!


